
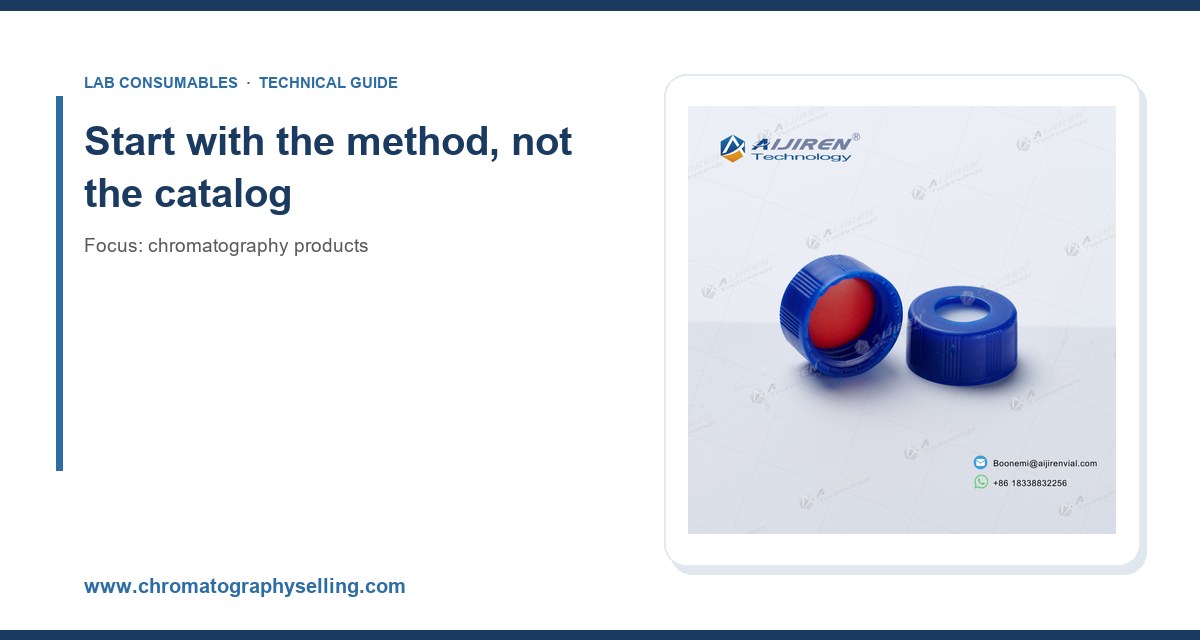
I have watched a lab burn through four months of instrument time because someone bought a case of 2 mL vials with 8 mm caps that did not match the crimper sitting on the bench. The chromatography was fine. The autosampler was fine. The mismatch was a thread pitch and a seal geometry, and it cost them a batch of EPA 8270 samples. That is the thing about consumables: they are the cheapest line item in the budget and the most common single point of failure. This guide is what I tell procurement managers and bench chemists who ask me how to buy chromatography products without creating a new problem.
Every purchasing decision downstream of the method is a derived decision. Before you open any supplier portal, write down four things: the separation mode (reversed-phase, normal-phase, ion exchange, size exclusion, GC capillary or packed), the detection technique (UV/DAD, fluorescence, MS, FID, ECD, NPD), the sample matrix, and the regulatory or QA framework you report under. If you are running EPA SW-846 methods for waste characterization, the method number dictates column dimensions, carrier gas, and even the injection volume range. The EPA SW-846 test methods are public and specific, and they will tell you more about what to buy than any sales rep will.
For pharmaceutical work under USP, the general chapters (USP <621> for chromatography, <1058> for analytical instrument qualification) set the acceptance criteria you have to meet. A column that fails system suitability on tailing factor at 1.8 is not a bargain at any price. Get the method requirements on one page before you compare products.
The four-question filter
- What is the mobile phase? Buffers above pH 7 rule out most silica-based columns unless they are hybrid or bidentate-stabilized. A standard C18 at pH 10 will hydrolyze in weeks.
- What is the detection limit? If you need low-ppb quantitation on MS, you need low-bleed columns and ultra-clean vials and septa. A cheap septum with high siloxane bleed will floor your baseline.
- What is the sample volume and throughput? 96-well plates versus 2 mL vials versus 4 mL vials changes your autosampler choice and your consumable cost per injection by a factor of three.
- What is the temperature? Ambient, 4 °C autosampler tray, or 300 °C GC inlet. Each changes the elastomer and the hardware.
Answer those four and half your purchasing decisions are already made. The rest is specification and supplier diligence.
Columns: the specification numbers that matter
Columns are where most of the money and most of the method risk live. I look at five numbers before anything else.
Particle size and column dimensions
For HPLC, 5 µm particles remain the workhorse for legacy methods and are forgiving of imperfect extra-column volume. 3 µm and sub-2 µm particles give you speed and resolution but demand low-dispersion plumbing and a UHPLC-rated system. If your instrument has a 400 µL system dwell volume and 0.005″ ID tubing, do not buy a 1.7 µm column and expect the resolution the vendor showed you. You will get peak broadening and backpressure spikes.
Standard analytical dimensions are 4.6 × 150 mm and 4.6 × 250 mm for 5 µm work at 1.0 mL/min. Narrow-bore 2.1 × 100 mm columns cut solvent use by roughly 80% and are the default for MS detection, but they are less tolerant of sample matrix. Guard columns add 5 to 10 mm of sacrificial packing and cost a fraction of the analytical column. Use them. I have seen guard columns extend analytical column life by 3 to 5 times on dirty environmental extracts.
Stationary phase chemistry
A modern C18 is not a commodity. Endcapping, bonding density, and silanol activity vary widely. For basic analytes, a bidentate or polar-embedded phase reduces tailing. For acidic compounds at low pH, a standard high-density C18 is usually fine. For highly aqueous mobile phases (above 95% water), look for an AQ or polar-embedded phase that resists dewetting. A dewetted C18 column will show retention drift and a pressure spike that does not resolve on flushing.
GC columns: film thickness and temperature limits
For capillary GC, the three numbers are internal diameter, film thickness, and maximum temperature. A 30 m × 0.25 mm × 0.25 µm column is the standard for split/splitless work. Thick films (1.0 to 5.0 µm) retain volatiles and handle large injection volumes; thin films (0.1 to 0.25 µm) give fast analysis and high efficiency for semivolatiles. The maximum temperature rating is a hard ceiling, not a suggestion. Exceed it once and you have baked off the stationary phase and created a bleed baseline that never comes back. For most 5% phenyl phases, that ceiling is 325 to 350 °C.
Column bleed is the silent killer of MS sensitivity. If you see a rising baseline at high temperature, verify your column is conditioned at the vendor’s recommended ramp before you blame the instrument. Agilent’s GC column and accessory documentation lists conditioning protocols and bleed specifications per phase, and it is worth reading before you install a new column.
Vials, caps, and septa: where most labs lose data
This is the category I get the most questions about, and it is the one where the wrong $0.15 part costs the most. Vials are not interchangeable. The cap is not interchangeable. The septum is not interchangeable. Get the geometry wrong and your autosampler either fails to pick up the vial or pierces off-center and cores the septum.
Vial dimensions and the standards behind them
The two dominant formats are the 12 × 32 mm crimp or screw-thread vial (nominal 2 mL) and the 15 × 45 mm (nominal 4 mL) vial. The 2 mL format dominates autosamplers, and the critical dimension is the neck finish. Screw-thread vials follow a de facto standard: 8-425 for the narrow 8 mm thread, 9-425 for the 9 mm thread, and 10-425 for the wider 10 mm. The numbers refer to the thread diameter and pitch. A 9 mm cap will not seal a 10 mm vial, and forcing it will strip the thread or leave a leak path that shows up as evaporation loss on a 24-hour autosampler run.
Crimp vials use a 11 mm aluminum seal for the 2 mL format and 20 mm for the 4 mL format. The crimp requires a specific crimper jaw and a specific crimp height. Under-crimp and the seal leaks; over-crimp and you crack the neck. The correct crimp is a firm, even compression with no rocking of the cap. If you can rotate the cap by hand after crimping, it is under-crimped.
For a full dimensional reference on neck finishes and septa thicknesses, the vials with caps catalog is organized by thread and format, which makes cross-checking against your autosampler manual straightforward.
Septum selection: puncture count and temperature
The septum is the part that actually touches your sample and your needle. Three specifications decide it.
- Puncture count. A standard silicone/PTFE septum tolerates roughly 1 to 3 punctures before coring becomes a risk. A pre-slit septum or a high-purity silicone septum can take 5 to 10. If your autosampler injects the same vial multiple times, count the punctures and replace the cap.
- Temperature rating. Standard silicone/PTFE is good to about 100 °C. For high-temperature headspace or thermochemolysis, you need a PTFE-faced or molded septum rated to 200 °C or higher.
- Bleed and extractables. For GC-MS, a low-bleed silicone septum with a PTFE face on the sample side reduces siloxane background. For LC-MS, extractables from the septum can show up as ghost peaks; use PTFE-faced septa and pre-rinse the vial.
I have a rule: on any method with a detection limit below 10 ppb, use pre-cleaned vials and low-bleed septa, and never reuse a cap. The cost difference is a few cents per injection. The cost of a re-run batch is a day.
Glass grade and cleanliness
Not all borosilicate is the same. Type I borosilicate (USP Type I) is the standard for analytical work because of low alkali leaching. For trace metals or ion chromatography, use vials certified for low extractables or pre-cleaned to a defined specification. For LC-MS, a vial that has not been solvent-rinsed can contribute plasticizers and mold-release agents to the blank. Buy from a supplier that publishes extractable data, not just a dimension drawing. A dedicated vial supplier that specializes in chromatography formats will usually have the certificates and the lot traceability you need for a regulated QA file.
Filters, syringes, and sample prep consumables
Sample prep is where the method is won or lost. A 0.22 µm syringe filter with a regenerated cellulose membrane is the default for aqueous and hydro-organic mobile phases. For aggressive solvents (DMSO, THF, dichloromethane), use PTFE. For protein-containing samples, use a low-binding PES or PVDF membrane. The membrane chemistry matters more than the housing.
Two numbers to check: hold-up volume and burst pressure. A 13 mm filter with 10 to 20 µL hold-up is fine for a 1 mL sample but will lose a meaningful fraction of a 100 µL sample. For small volumes, use a 4 mm filter or a centrifugal device. Burst pressure for a standard 13 mm syringe filter is typically 5 to 7 bar (75 to 100 psi); exceeding it with a viscous sample or a partially clogged membrane will rupture the housing and dump particulates into your vial. Filter slowly and watch the pressure.
For solid-phase extraction, the sorbent mass and bed format drive capacity. A 500 mg / 3 mL cartridge is the workhorse for environmental water; a 30 mg / 1 mL cartridge is for small-volume bioanalysis. Match the sorbent mass to the analyte load, not to the price per cartridge.
Instrument accessories and the fittings that fail
Fittings and tubing are the least glamorous purchase and the most frequent source of leaks and dead volume. For HPLC, 1/16″ OD tubing with 0.005″ to 0.010″ ID is standard. Use the smallest ID that meets your flow rate to minimize extra-column volume. Finger-tight fittings are fine for low-pressure work; for UHPLC at 1000 bar, use a torque-controlled fitting and follow the vendor’s specification, typically 0.5 to 1.5 N·m depending on the ferrule design.
For GC, the inlet liner is a consumable that is often ignored until peak shape degrades. A deactivated split/splitless liner with a glass wool plug catches nonvolatile residue and protects the column. Replace it when you see peak tailing on active analytes, or on a fixed schedule (every 100 to 200 injections for dirty matrices). The septum in the inlet is a different part from the vial septum and has its own puncture count; replace it when you see a retention time shift or a pressure drop.
Comparison checklist: matching consumables to workflow
Here is the decision table I use. The numbers are typical specifications, not universal, so verify against your instrument manual.
- Autosampler, standard HPLC-UV: 2 mL 12 × 32 mm screw vial, 9-425 cap, silicone/PTFE septum, 1 to 3 punctures, ambient to 40 °C. Cost per injection is low; replace caps every run.
- Autosampler, LC-MS/MS: 2 mL vial, pre-cleaned, low-extractable septum (PTFE-faced), 9-425 or 10-425 per instrument, ambient tray. Verify blank before batch.
- GC headspace: 20 mL headspace vial, 20 mm crimp or screw cap, PTFE/silicone septum rated to 200 °C, magnetic or clamp cap per sampler. Crimp height checked with a gauge.
- GC split/splitless: 2 mL vial, 11 mm crimp, low-bleed septum, inlet liner with deactivated glass wool, replace liner every 100 to 200 injections.
- UHPLC at 1000 bar: 2 mL vial, 10-425 cap with torque-controlled seal, 0.005″ ID tubing, sub-2 µm column, guard column rated to system pressure.
Print that table and tape it inside the procurement binder. It prevents the most common mismatch I see, which is a 9 mm cap ordered against a 10 mm vial because the part numbers looked similar.
Supplier evaluation: what to ask before you sign a PO
Price per unit is the last thing I look at. First I want to know four things.
- Lot traceability and certificates. Can the supplier give you a certificate of analysis for the glass, the septum, and the column packing lot? For regulated work, you need it in the QA file.
- Dimensional conformance. Ask for the drawing and the tolerance. A vial that is 0.3 mm short on height will sit low in the tray and cause needle misalignment. A cap that is 0.2 mm off on thread pitch will cross-thread.
- Extractable and bleed data. A serious supplier publishes it. If they cannot produce a blank chromatogram, move on.
- Stock and lead time. A column you cannot get in a week is a method downtime event. Ask for the stocking location and the reorder point.
For chromatography products broadly, including columns, vials, filters, and fittings, the chromatography products catalog is organized by application and instrument compatibility, which is a faster way to cross-check part numbers than a general distributor site. For manufactured consumables at scale, Aijiren publishes dimensional and material specifications that you can drop into a qualification protocol. And for method development support and application notes, Thermo Fisher’s chromatography and sample handling resources and Restek’s technical resources are both worth bookmarking; Restek in particular has good troubleshooting charts for peak shape and retention drift.
Troubleshooting checklist for newly purchased consumables
When a new lot or a new supplier causes a problem, work through this in order. I have used it on everything from a bad septum lot to a column that was mislabeled.
- Peak tailing on basic analytes: check mobile phase pH against column rating, check for a worn inlet liner or a dirty guard column, check the septum for coring.
- Retention time drift: check for a leak at the fitting (torque, ferrule), check mobile phase composition and degassing, check column temperature stability to ±0.5 °C.
- Ghost peaks in the blank: swap to pre-cleaned vials and low-bleed septa, run a solvent blank, check the water source and the filter membrane.
- Pressure spike: check for a partially clogged frit or guard column, check for a dewetted column (flush with high organic), check for precipitate from a buffer mismatch.
- Autosampler pick-up errors: measure vial height and cap height against the instrument spec, check the tray alignment, check for a bent needle.
- MS baseline rise at high temperature: condition the column per the vendor ramp, check for column bleed, check the septum and the inlet liner.
Run the checklist before you call the supplier. Half the time the problem is a mismatch you created, and the other half it is a lot defect you can document with the checklist and get replaced.
What I would buy, and in what order
If you are standing up a new lab or re-equipping an existing one, buy in this order: columns first, because they define the method and the method defines everything else. Then vials and caps as a matched set from one supplier, so the thread and septum geometry are guaranteed to work together. Then filters and sample prep consumables matched to your matrix. Then fittings and tubing sized to your system pressure. Then the accessories (liners, septa, ferrules) as a stocked consumable with a reorder point.
Concrete starting parameters for a general-purpose HPLC lab: a 4.6 × 150 mm, 5 µm C18 column with a matching guard; 2 mL, 12 × 32 mm, 9-425 screw vials with PTFE/silicone septa; 0.22 µm RC syringe filters; 1/16″ × 0.005″ PEEK or stainless tubing with finger-tight fittings. For a GC lab: a 30 m × 0.25 mm × 0.25 µm 5% phenyl column, 11 mm crimp vials, deactivated liners, and low-bleed inlet septa. Those are the numbers I would put on a first PO, and they cover 80% of routine work.
The takeaway is simple: chromatography consumables are a specification problem, not a price problem. Match the neck finish, the septum temperature and puncture count, the particle size and column dimensions, and the fitting torque to your actual method and instrument, and you will spend less time troubleshooting and more time generating data. The cheapest part in the catalog is the one that costs you a batch when it is wrong.
References & further reading
Related resources from our lab consumables network:
- Chromatography Products at chromatographyselling.com
- Aijiren at aijirentech.com
- Vials With Caps at vialswithcaps.com
- Vial Supplier at vialsupplier.com
External references and standards: