
I still remember the week a client called me because their GC method had started drifting. Retention times were slipping by 0.15 minutes every twenty runs, and the peak for their target analyte had developed a shoulder. They had changed nothing, they said. When I asked what had changed in the lab, they admitted they had switched syringe brands to save about $40 per box. The new syringes had a different barrel-to-plunger tolerance, and the plunger was sticking slightly on the return stroke. That $40 saved them three days of troubleshooting and a revalidation. This is the reality of buying chromatography consumables: the cheapest line item is rarely the cheapest decision. Below is how I evaluate columns, vials, syringes, filters, and fittings after fifteen years of running a consumables operation, with the numbers and failure modes that actually matter.
Before you open any supplier site, write down the method parameters that constrain your consumable choice. For HPLC, that means column internal diameter, particle size, flow rate, backpressure ceiling, and detector. For GC, it means inlet type, carrier gas, oven temperature program, and detector. If you are running a regulated method (USP, EPA, AOAC), the method number itself dictates many of these choices, and substituting a different dimension means revalidation. I have watched labs buy a “comparable” column with the same chemistry but a 2.1 mm internal diameter instead of 4.6 mm, then wonder why their injection volume needed to drop by a factor of five to avoid detector saturation.
The practical starting point is to pull the actual method text and build a one-page consumable specification sheet. Include the column part number currently in use, the vial and cap configuration, the syringe volume and needle gauge, the filter membrane and pore size, and every fitting type in the flow path. That sheet becomes your purchasing reference and your troubleshooting baseline. When something drifts, you compare against the sheet instead of your memory.
What the specification sheet should contain
- Column: dimensions (e.g., 150 x 4.6 mm), particle size (5 µm), pore size (100 Å or 300 Å), bonded phase, endcapping, pH range, maximum pressure (400 bar typical for 5 µm, 600 bar for sub-2 µm), and maximum temperature (60 °C for most silica-based phases).
- Vials: volume (2 mL standard), glass type (Type I borosilicate for pH-sensitive work), closure thread (9 mm short thread or crimp), septa material (silicone, PTFE-faced silicone, or pre-slit), and septa thickness (1.0 mm typical).
- Syringes: volume (10 µL for HPLC, 10 µL or 100 µL for GC), needle gauge (22s or 23), point style (cone or bevel), and barrel material (borosilicate glass with PTFE-tipped plunger).
- Filters: membrane chemistry (PTFE, PVDF, nylon, cellulose acetate), pore size (0.22 µm or 0.45 µm), diameter (13 mm or 25 mm), and housing material (polypropylene).
- Fittings: thread type (1/16″ standard), ferrule material (graphite, Vespel, or PEEK), and torque specification (typically 0.5 to 0.7 N·m for finger-tight plus a quarter turn).
If you are building this sheet from scratch, the Agilent chromatography consumables and columns catalog and the Thermo Fisher chromatography and sample handling documentation are useful references because both publish detailed dimensional and compatibility tables. The Restek technical resources library is particularly good on phase selection and temperature limits.
Columns: the decision that drives everything else
The column is the most expensive consumable in most labs and the one where substitution causes the most pain. I treat column selection as a three-part decision: chemistry, dimensions, and particle size. Get the chemistry wrong and no amount of method tweaking will fix selectivity. Get the dimensions wrong and you change your flow rate, injection volume, and sometimes your detector sensitivity.
Chemistry first
For reversed-phase work, C18 remains the default for a reason: it handles the widest range of analytes and has the most published methods. But C18 is not one thing. A modern C18 with a 100 Å pore and full endcapping behaves differently from an older high-carbon-load C18 with a 300 Å pore. If your method was developed on a specific column, the bonded phase, carbon load, and endcapping all matter. Phenyl phases are worth considering when you have aromatic analytes that need pi-pi interactions. HILIC is the right choice for polar compounds that do not retain on C18, but it demands high organic content in the mobile phase (typically 70 to 95% acetonitrile) and a longer equilibration time (at least 30 column volumes).
For GC, the stationary phase polarity is the main decision. A 5% phenyl / 95% dimethylpolysiloxane phase (often called a DB-5 or equivalent) handles most general-purpose work. You move to a 50% phenyl phase for aromatic compounds and to a PEG phase for polar analytes. The temperature limit matters: a standard 5% phenyl column is rated to 325 to 350 °C, but pushing it to the limit shortens column life. I recommend running at least 20 °C below the maximum rating for routine work.
Dimensions and particle size
Here is the decision table I use when a lab asks whether to change column dimensions:
- 4.6 mm ID, 150 mm, 5 µm: the workhorse. Flow rate 1.0 mL/min, backpressure around 100 to 150 bar, injection volume 10 to 20 µL. Best for method transfer and legacy methods.
- 4.6 mm ID, 250 mm, 5 µm: higher resolution, longer run time, backpressure around 180 to 220 bar. Use when you need separation of closely eluting peaks and have time to spare.
- 2.1 mm ID, 100 mm, 1.8 µm: UHPLC workhorse. Flow rate 0.3 to 0.4 mL/min, backpressure 600 to 800 bar, injection volume 1 to 2 µL. Solvent savings are real, but the method is less forgiving of extra-column volume.
- 2.1 mm ID, 50 mm, 1.8 µm: fast screening. Run times under 2 minutes, but resolution suffers on complex mixtures.
One number that catches people: if you move from a 4.6 mm to a 2.1 mm column, scale your injection volume by the square of the diameter ratio. A 10 µL injection on 4.6 mm becomes roughly 2 µL on 2.1 mm. Skip that adjustment and you overload the column, which shows up as peak fronting and lost resolution.
Vials and closures: where contamination hides
Vials are cheap, which is exactly why labs buy them carelessly. I have seen a single lot of vials with inconsistent neck dimensions cause autosampler gripper failures across an entire sequence. I have also seen septa that shed particles into the vial, producing ghost peaks at m/z values that matched nothing in the method. The fix is not expensive; it is just specific.
Glass and dimensions
Use Type I borosilicate glass (often called 33 expansion) for any work where pH or trace metals matter. Type I glass has low alkali leaching, which matters for ion chromatography and for any method with a low detection limit. Standard autosampler vials are 12 x 32 mm with a 2 mL nominal volume, but the actual usable volume is closer to 1.5 mL. If you need more headspace for a vigorous autosampler needle, consider a 9 mm wide-mouth vial or a 1.5 mL tapered insert.
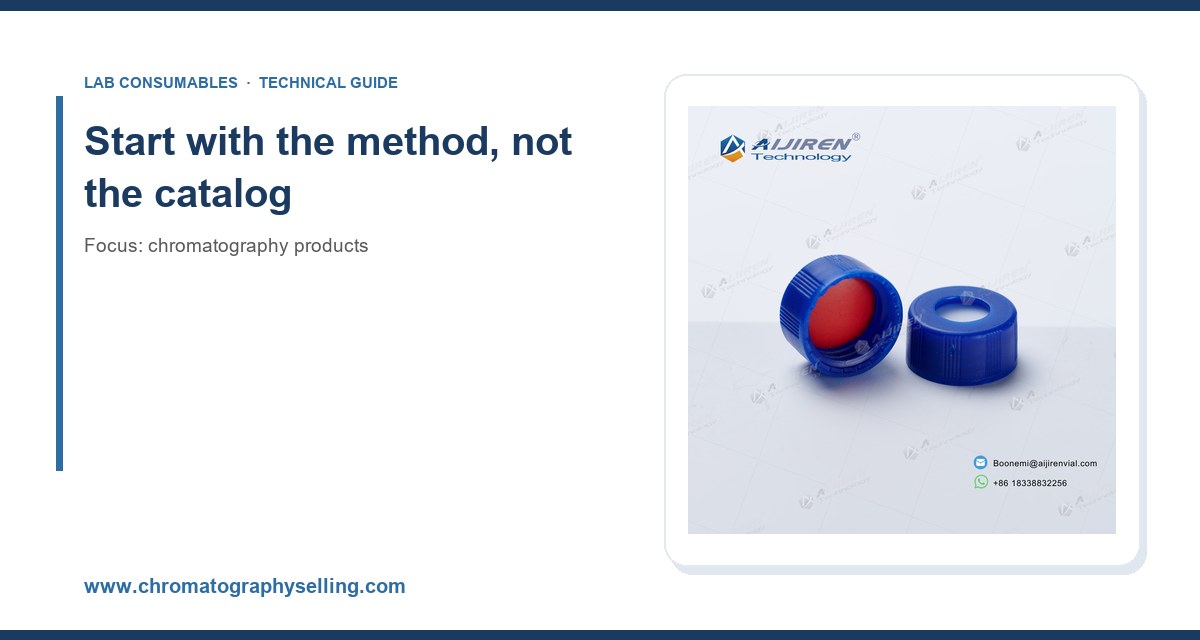
The closure matters as much as the glass. A 9 mm short-thread cap is now the default for most autosamplers because it seats consistently and does not require a crimper. Crimp caps (typically 11 mm) are still common on older instruments and give a tighter seal, but they need a crimping tool calibrated to the right torque. I have seen crimpers drift out of adjustment and produce caps that leak during a 24-hour run. Check your crimper against a torque gauge every few months.
Septa
Septa are where the puncture count matters. A standard silicone septa with a PTFE face is rated for roughly 50 to 100 punctures before it starts coring. Pre-slit septa reduce coring but are not suitable for headspace work because they leak. For high-throughput labs running 96-well plates or long sequences, I recommend replacing septa every 50 injections rather than waiting for a failure. The cost of a septa is trivial compared with the cost of a rerun.
For a reliable supply of vials, caps, and septa that match your autosampler, the vials with caps catalog and the vial supplier resources are worth bookmarking. Both publish dimensional drawings and septa specifications, which is what you need when you are matching a part number to an instrument.
Syringes, filters, and fittings
These are the small parts that cause the largest number of “mystery” failures. I have a short list of checks I run on any new lot.
Syringes
For HPLC autosamplers, a 100 µL syringe with a 22s gauge needle and a PTFE-tipped plunger is the common configuration. For GC, a 10 µL syringe with a 23 gauge cone-point needle is standard. The failure mode I see most often is plunger sticking, which produces injection volume variability. If your peak area RSD climbs above 2% on replicate injections, check the syringe before you touch the method. A worn plunger tip can also leak sample past the seal, which shows up as carryover.
Needle gauge matters more than people think. A 22s needle has a smaller internal diameter than a standard 22, which reduces the dead volume in the needle and improves injection precision for small volumes. If you are injecting 1 µL or less, use the smaller gauge.
Filters
Filter selection comes down to three choices: membrane chemistry, pore size, and diameter. For aqueous samples, PVDF or nylon works well. For organic solvents, PTFE is the safe choice because it is chemically inert. Pore size is usually 0.22 µm for UHPLC (protects the column frit) and 0.45 µm for standard HPLC. Diameter matters for sample loss: a 13 mm filter holds less liquid than a 25 mm filter, so use the smaller size when sample volume is limited.
One number to watch: filter hold-up volume. A 13 mm syringe filter typically holds 10 to 20 µL of liquid in the housing and membrane. If you are filtering a 100 µL sample, that is a meaningful loss. Pre-rinse the filter with a small volume of the same solvent before you filter the sample.
Fittings and ferrules
Most HPLC fittings are 1/16″ and use either graphite, Vespel, or PEEK ferrules. Graphite ferrules seal well but can shed particles and are not reusable. Vespel ferrules are reusable a few times but can cold-flow under pressure. PEEK ferrules are the most forgiving for finger-tight connections. The torque specification is usually 0.5 to 0.7 N·m, which is roughly finger-tight plus a quarter turn. Over-tightening crushes the ferrule and can crack the fitting body. I keep a small torque wrench on the bench for exactly this reason.
For a full range of columns, vials, syringes, filters, and fittings from a single source, the chromatography products catalog at chromatographyselling.com is organized by application, and the Aijiren technical pages cover the dimensional and material specifications in more detail.
Regulatory and method constraints
If your lab runs regulated methods, the consumable choice is not entirely yours. EPA SW-846 methods, for example, specify column dimensions and sometimes the exact phase for certain determinative steps. The U.S. EPA SW-846 test methods documentation is the reference to check before you substitute anything. USP methods have similar constraints, and changing a column dimension usually triggers a revalidation under USP <621>.
The practical rule: if the method number is in your SOP, treat the consumable specification as part of the method. A “comparable” substitute is only comparable if you have the data to prove it. I have seen labs substitute a column with the same dimensions and phase but a different endcapping, then spend a week chasing a selectivity shift that turned out to be the column.
Troubleshooting checklist
When a method drifts, work through this list before you change anything in the method itself. In my experience, about 70% of drift events trace back to a consumable.
- Retention time drift: check mobile phase pH and composition first, then column age. A column that has run more than 1,000 injections is a suspect. Check for a partially clogged frit by measuring backpressure against a baseline.
- Peak area RSD above 2%: check the syringe plunger for sticking, check the autosampler needle for partial clog, and check the vial septa for coring.
- Ghost peaks: check septa and vial glass first, then mobile phase water quality. A 0.22 µm filter on the mobile phase reservoir is cheap insurance.
- Peak fronting: check injection volume against column capacity, check sample solvent strength against mobile phase, and check for a partially clogged inlet frit.
- Baseline noise: check detector lamp hours, check for air bubbles in the flow path, and check fitting torque on the detector cell.
- Carryover: check needle wash solvent, check syringe seal, and check the injection valve rotor seal. A rotor seal is typically good for 50,000 to 100,000 injections, but that number drops fast with aggressive solvents.
Decision checklist with numbers
Here is the checklist I hand to procurement when they ask me to approve a consumable order. It is deliberately short and numeric.
- Column: dimensions match method (150 x 4.6 mm or 100 x 2.1 mm), particle size matches (5 µm or 1.8 µm), pH range covers method pH, temperature limit at least 20 °C above method temperature, backpressure within instrument limit (400 bar for standard HPLC, 600 to 800 bar for UHPLC).
- Vials: 12 x 32 mm, 2 mL, Type I borosilicate, closure matches autosampler (9 mm short thread or 11 mm crimp), septa rated for at least 50 punctures, pre-slit only if not running headspace.
- Syringes: volume matches injection volume (10 µL for GC, 100 µL for HPLC), needle gauge 22s or 23, plunger tip PTFE, replacement interval every 500 to 1,000 injections.
- Filters: pore size 0.22 µm for UHPLC, 0.45 µm for HPLC, membrane chemistry matches solvent, diameter 13 mm for small samples, 25 mm for larger volumes.
- Fittings: 1/16″ thread, ferrule material matches application (graphite for high temperature, PEEK for finger-tight), torque 0.5 to 0.7 N·m, replace ferrules after 5 to 10 reconnections.
What I recommend
If you are setting up a new lab or standardizing a method, start with a 4.6 x 150 mm, 5 µm C18 column, 2 mL Type I borosilicate vials with 9 mm short-thread caps and PTFE-faced silicone septa, a 100 µL HPLC syringe with a 22s needle, 0.22 µm PVDF or PTFE filters depending on solvent, and 1/16″ PEEK fittings torqued to 0.5 N·m. That combination covers the widest range of methods with the fewest surprises, and every component is available from multiple suppliers, which keeps your lead times short.
If you are running UHPLC, move to a 2.1 x 100 mm, 1.8 µm column, scale your injection volume to 1 to 2 µL, and use 0.22 µm filters throughout. The solvent savings are real, but the method is less forgiving of extra-column volume and fitting quality, so do not cheap out on the fittings.
One last number: budget about 5 to 10% of your instrument’s annual cost for consumables. If your spend is below that, you are probably reusing ferrules and stretching septa past their puncture rating, and you will pay for it in reruns. If it is above that, you are probably buying the wrong consumables or changing them too often. The specification sheet and the checklist above will keep you in the right range.
Consumable selection is not glamorous work, but it is where method robustness is won or lost. Get the column chemistry and dimensions right, match the vial and closure to your autosampler, replace septa and syringes on a schedule rather than on failure, and torque your fittings to specification. Those four habits will eliminate most of the drift, ghost peaks, and carryover events that send labs into multi-day troubleshooting. The rest is just keeping your specification sheet current.
References & further reading
Related resources from our lab consumables network:
- Chromatography Products at chromatographyselling.com
- Aijiren at aijirentech.com
- Vials With Caps at vialswithcaps.com
- Vial Supplier at vialsupplier.com
External references and standards: